| since i'm candy coating a kit i thought i might aswell share how to apply this technique to your kits/transformers/customs. | |||||||||||||||||
1st you need your piece.
 then the primer |

next is the base coat,in this case i used black as it gives the silver more shine(note that the glossier it is the shinier the silver will be afterwards,the base coat does make a difference.)

next is silver,gold works as well but i use silver cause i don't want my final colours to have a different tone ^^; silver is like the metallic for white and gold is the metallic for yellow pretty much.
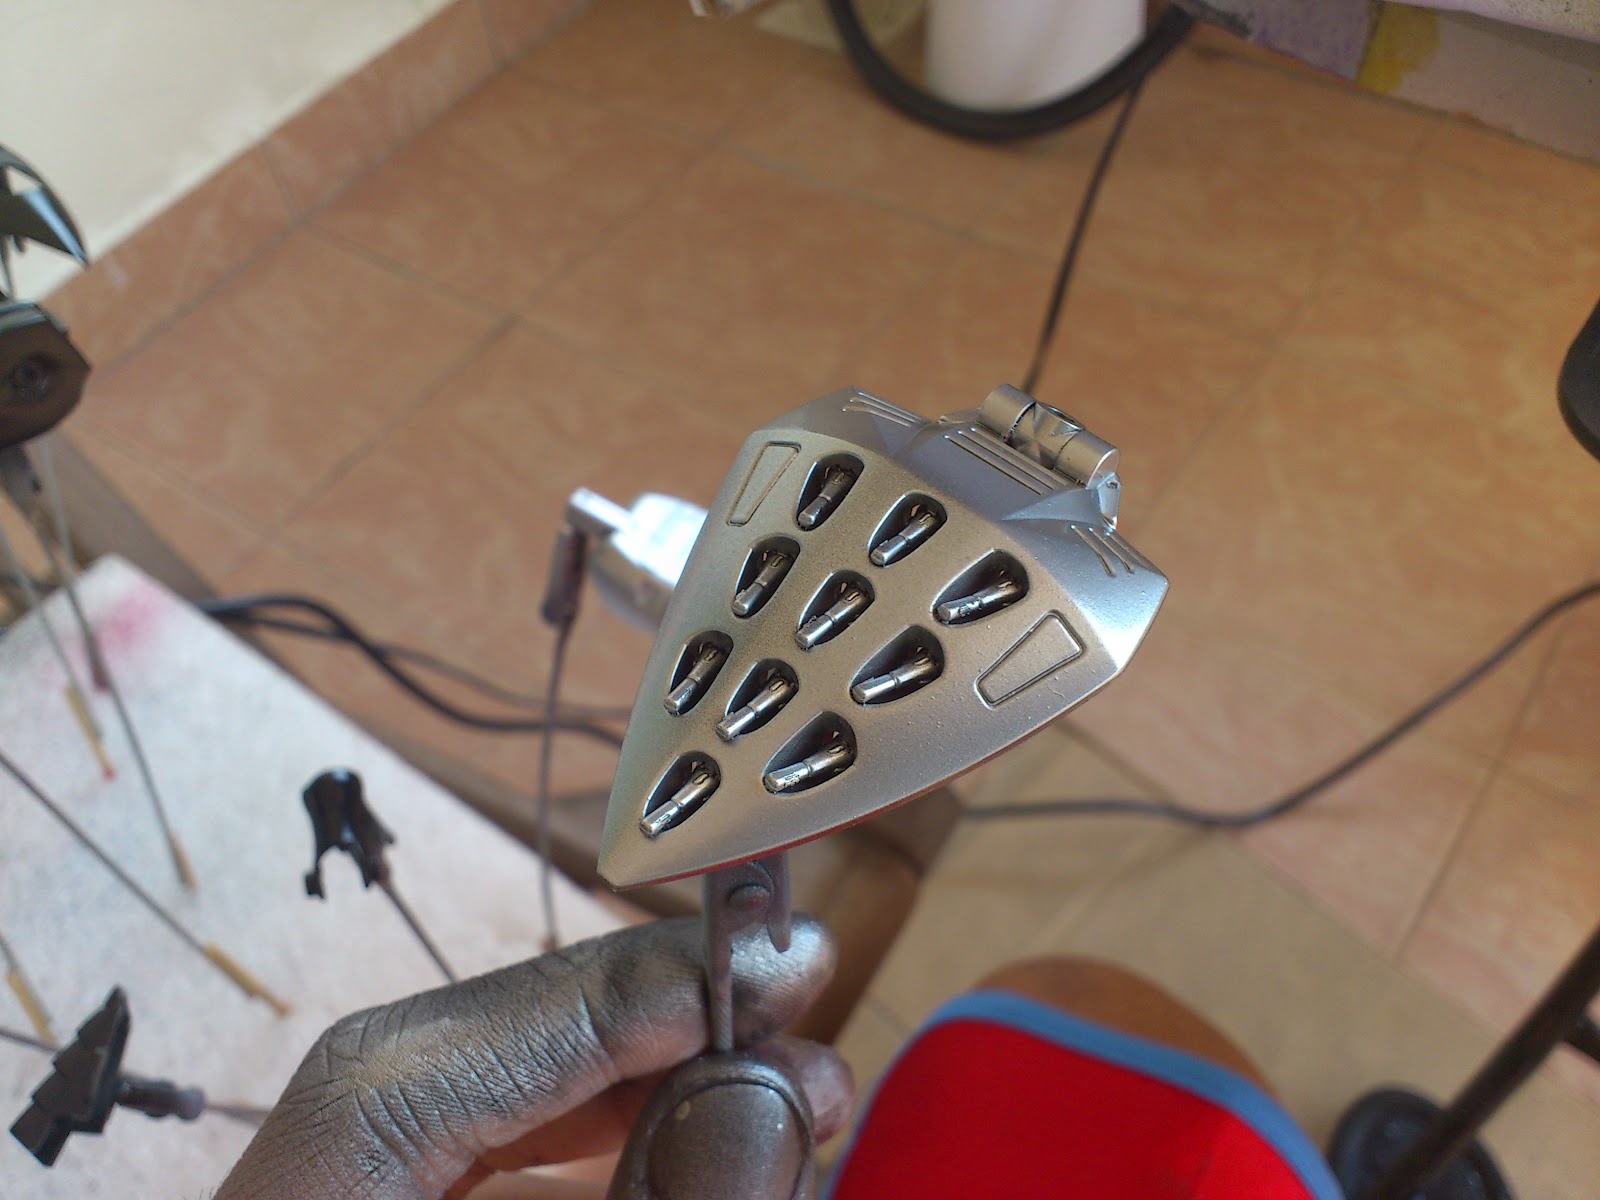 |
| Fun fact:this is just simple mr color #8 silver,base coat makes a difference. |
next is the clear colour,i choose gaia notes for clears as
1-they're easier to apply
2-the colours come out instantly despite the mixture being 40% thinner 60% paint.
3-it dries pretty fast

yep like i said,mix it 40% thinner 60% paint and get a result like....

and if that isn't enough.

that's it for this tutorial,it can be applied via handbrush but i can't guarantee the smooth-ness of the result(when i candy coat via handbrush it's only the fine details;eyes,touch-ups etc),not too sure about spray cans too,didn't play with spray can clears too much back in my noob days ^^;
No comments:
Post a Comment